It’s almost done! O frabjous day! With so much awful front-page news – which is how it should be, and I hope all of you are well – it feels good to find happiness in one’s own nest.
As always, here’s a summary of how we got from there to here: my husband’s Air Force enlistment ended in 2013. We moved back to the United States and purchased a super cheap house with the intention of taking it from musty to modern. The first task was to build a workshop to house tools and provide a space to work. The second task was to renovate our living room. Both the workshop and the living room are here.
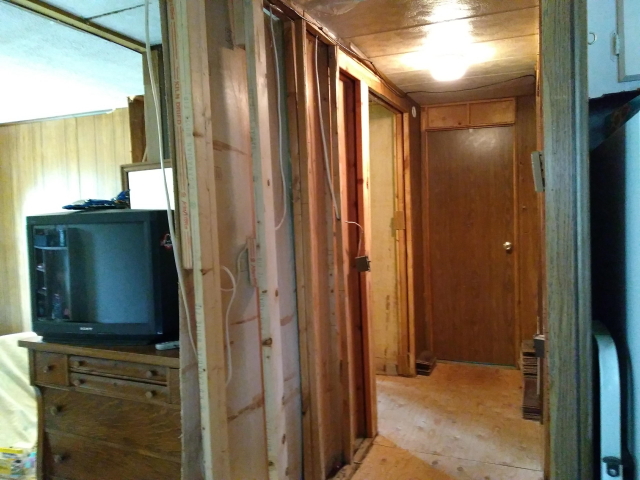
The front two bedrooms and hallway came next. We’d already ripped out the carpeting in the hall and first bedroom, which left us with only subfloor for a few years. Needless to say, we’ve all suffered our share of foot splinters. Last week, however, the hardwood floors went in and we’re enjoying the fresh, new, splinter-free texture beneath our feet!
So let’s dial it back to the beginning. With the living room complete as of Spring of 2019, we started on the bedrooms in the fall. WHY do we always gut a room right before it gets cold, and then have to block the uninsulated portion of our house off with heavy-duty plastic? I don’t know, but apparently that’s just how we roll.
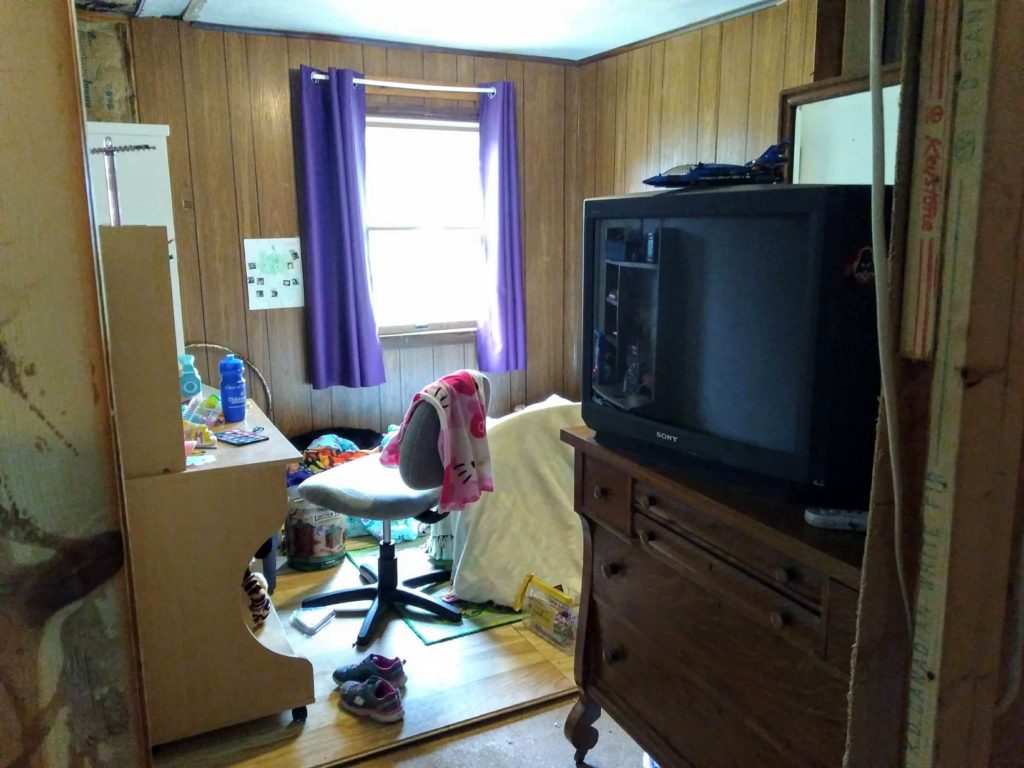
Here are the “before” pictures. The first bedroom was already partially done (we’d already hung drywall on one wall of it) and partially destroyed (carpeting gone, subfloor visible) at the same time. This picture was taken through where the wall used to be.
The other bedroom is the master bedroom and this is what we started out with.
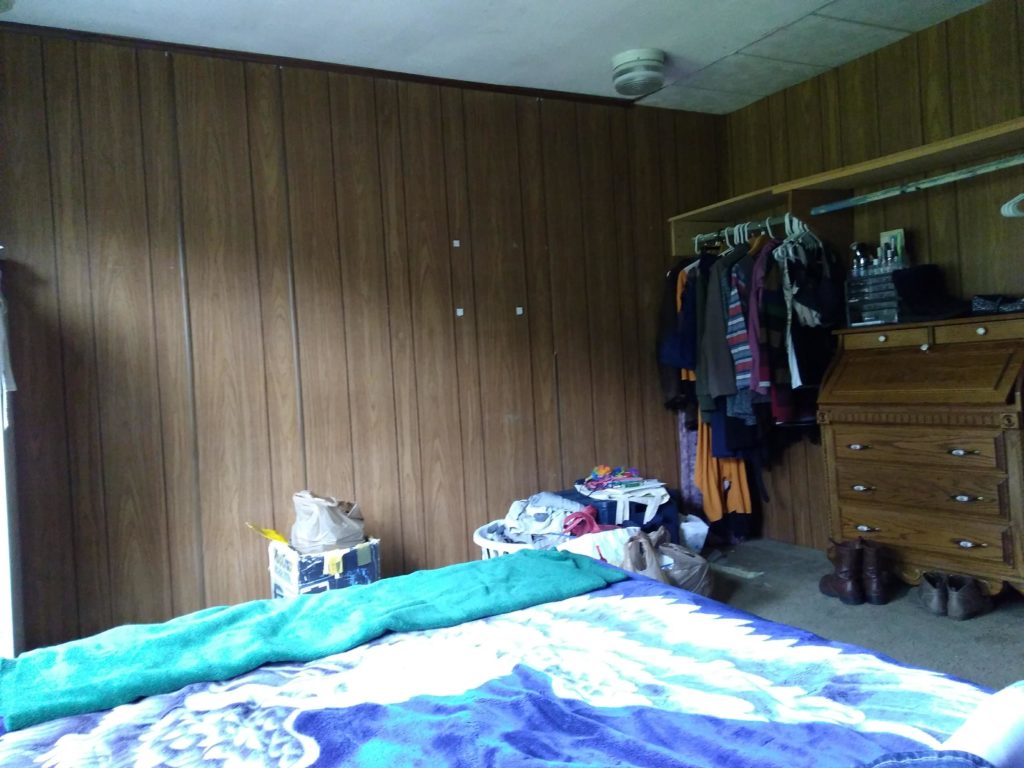
Fancy, aren’t they? Why would we want to renovate any of this? This is after my husband removed the edges of the so-called closet. Let the gutting begin!
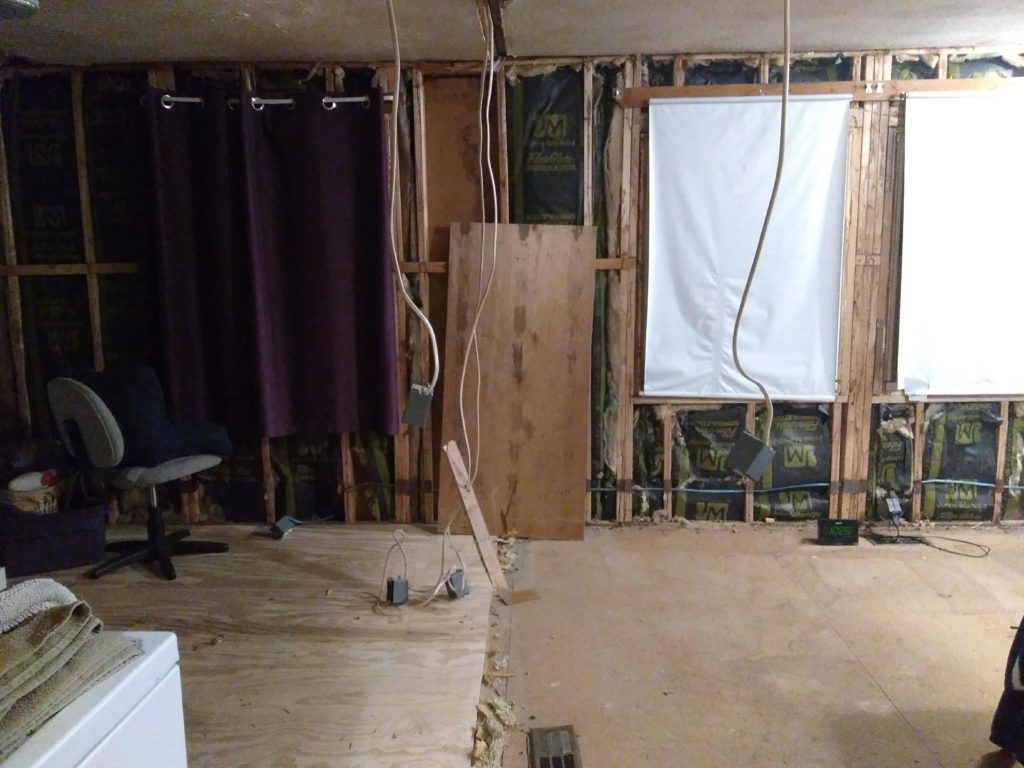
We rented a dumpster, and started by ripping out the wall separating the rooms. Then we ripped out the ceilings. Check out our vintage insulation! It goes back to 1977. So does this piece of a 45 we found inside one of the walls.

Once we pulled out the insulation and the old wiring, we were in business. My husband added new framing between the bedrooms. In doing so, he also changed the layout. Originally, there was an alcove for a dryer that jutted into the first bedroom, and then the bedroom doors faced each other. We purchased a stackable washer/dryer set, with the intention of making this change. The new layout places both bedrooms’ doors in the hall proper, adding more square footage to each bedroom.
The drywall you see here was added when we put drywall in our living room, a few years prior.
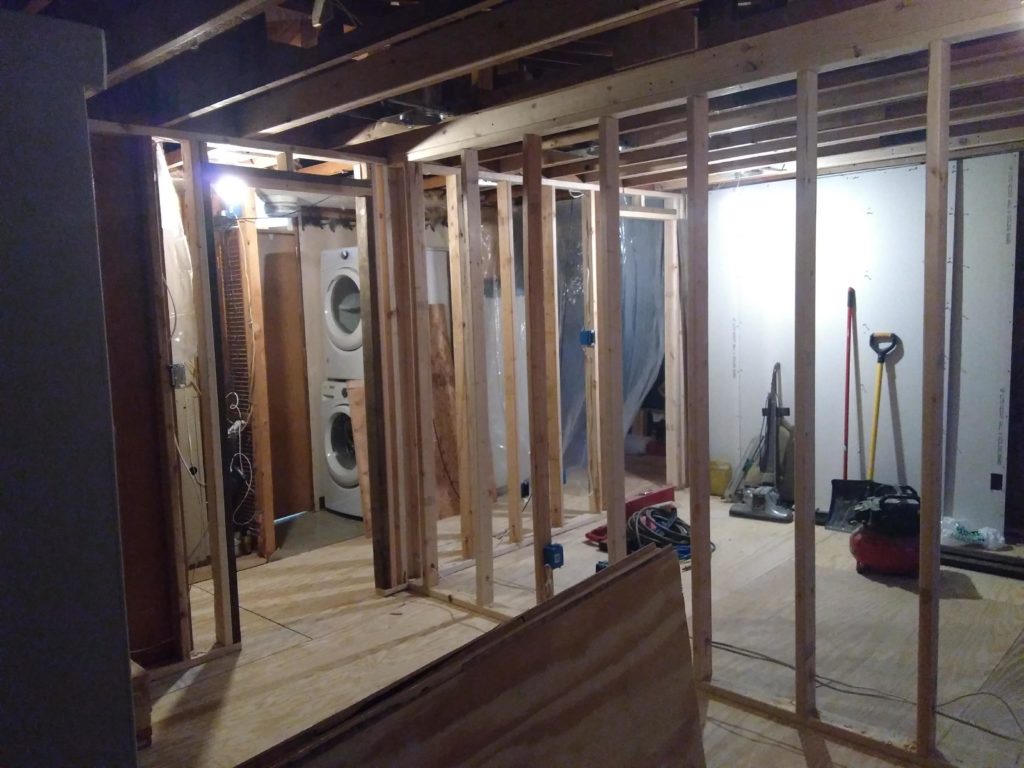
He then installed new wiring and recessed lighting cans. The first bedroom had a single ceiling fixture. The master bedroom had two. Both were pretty darn outdated, as you can see from the photo of the master bedroom before we gutted it. Then, we added modern insulation for both the ceiling (unfaced R30) and walls (faced R13). It’s amazing what a difference bringing the insulation up to today’s standards makes.
Many people ask just how far we go when renovating a room. We go all the way – gutting it from the ceiling joists to the studs to the subfloor. Each step takes varying amounts of time depending on the money we have available to move forward and how time-intensive a particular aspect is.
Once all of that work is done, the fun can really begin… in part 2!