- Posts for cooking tag
Corn and Black Bean Burritos | Our Prairie Nest
Corn & Black Bean Burritos

When it comes to food, I’m a by-the-book person. I don’t experiment with recipes much, if at all, but I decided to try that tonight and my daughter liked it so much, she finished her dinner before the rest of us! In fact, I didn’t expect this to taste so much better than the usual recipe I go by from a book (sorry, book!), so I didn’t take pictures of the food. Just go with it. 😉

Corn & Black Bean Burritos

You need:

1 cup frozen corn

1 can black beans

1/4 cup diced green pepper

1/4 cup diced onion

Chili powder (to taste)

1 tbsp olive oil

Up to 9 flour tortillas (or as many as you want for now; you can always save the rest for later)

Directions

  1. Heat corn in microwave for 5 minutes. Drain black beans. Rinse, if desired. Meanwhile, warm olive oil in small frying pan (we use cast iron) over medium heat.
  2. Add diced onion and pepper to oil, and stir while sautéing, about 5 minutes.
  3. Add black beans to frying pan and sprinkle chili powder to taste (I like to do a layer over the entire pan). Stir beans, onions, and peppers together, sautéing for a few minutes.
  4. Drain corn and add to frying pan. Add more chili powder, if desired. Stir vegetables together.
  5. Prepare flour tortillas either by heating them up in the microwave for 10 seconds or by heating for 30-60 seconds (or until browned) on each side in a dry, ungreased skillet (this is the tastier way to do it!).
  6. Spoon mix into tortillas, add cheese and anything else you want (sour cream is great on these), and eat!

If you’re cooking for more than 2 people, it helps to have a second person to warm the tortillas and pass them to you for filling or vice versa as they’re ready, so everything doesn’t sit out and get cold.

Rice makes a great side dish with this. I stock up on rice sides whenever they’re on sale for something easy to make while I’m doing a more involved recipe. If you don’t like white or red onions, scallions would also be delicious. This is a super light, vegetarian (but not vegan) meal with a lot of flavor for very little effort and money.

Confetti Cake Batter Cookies | Our Prairie Nest
Cookies This Week

While the pretzels I tried to do two weeks ago turned out to be far more work than I’d anticipated, this week’s baking was a breeze. We tried these super easy Confetti Cake Batter Cookies. This is an easy recipe that you can knock out quickly. Since you’re using a box of cake mix instead of flour, sugar, and all that jazz, it’s not messy, either.

It took 3 cookie sheets to do all the cookies and the recipe is correct that the yield is about 30. They’re soft and fluffy, like grocery store bakery cookies. This was my first time using cake mix for a cookie recipe and I’ll do it again.

These cookies are from last Monday, because yesterday we went to the zoo with a friend. And, yes, that was fun, too! Though I think the cookies lasted longer than the zoo trip. 😉

Tasty Tuesday - Not Pretzels | Our Prairie Nest
Pretzel Fail

Since I’ve implemented this baking-every-Monday idea, I’ve had approximately one success and one failure. For fans of baseball in Boston in the mid-90s, this is about the time we’d accept that the Red Sox had hit that mid-season slump from which there was no return. In fact, when we went to games, I’d sit there and say, “Look – Stonehenge!” from an old joke that goes like this:

Defensively the Red Sox are a lot like Stonehenge. They are old, they don’t move, and no one is certain why they are positioned the way they are. — Dan Shaughnessy

Where was I? Oh yeah pretzels.

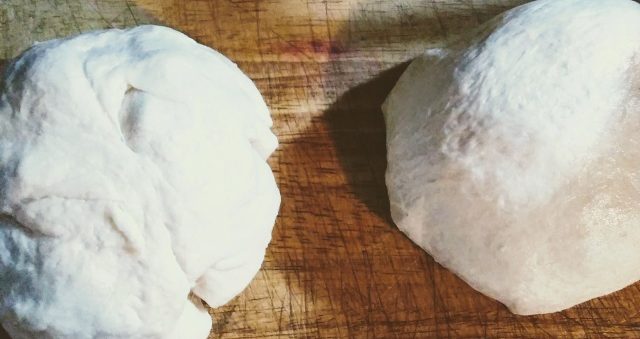
I decided to try baking them and let me tell you – it’s hard! I kneaded the heck out of the dough (we don’t own a mixer) and it rose really well. But when it came to rolling it out into long ropes, the dough kept pulling back. It didn’t want to stay ropey and tying the actual shape was tricky. So I gave up, rolled all the dough back together, and made peasant bread.

On the upside, the bread came out great and went perfectly with some homemade creamy tomato soup my husband made for dinner.

Do I recommend making pretzels? Maybe.  The dough might come out less springy if you knead or longer or have a mixer to do the work. Will I try it again? No. The kids weren’t jazzed enough about them, anyway. But they’re excited about the idea of making cookies next week…

Canning Pickles | Our Prairie Nest
Pickles & Breadcrumbs

No, pickles and bread crumbs don’t go together… unless you’re making them!

Last week, we did our first canning of the season. Year after year, we enjoy a bountiful cucumber harvest. The right ones go into pickles. Which cucumbers are best for pickles? You want the smaller cukes, the ones with smaller seeds. They should be just ripe. An overripe cucumber doesn’t make as nice a pickle.

Making Pickles

There are several ways to make pickles. The first couple of years, we went with the heat canning and boiling the jars, but last year we discovered an easier and tastier way to make pickles – no heat, no boiling, and the result are even more flavorful, crunchy pickles.

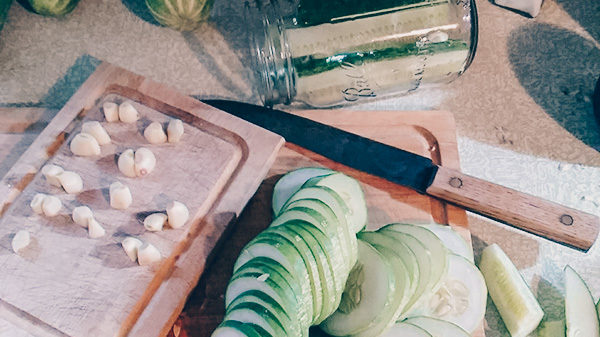
If this sounds intriguing to you, you want to go with cold process. There are several recipes available with different ways of spicing the pickles, but most come down to the same technique: you clean the cucumbers and jars, mix your spices, boil your brine, slice your cucumbers, add garlic, and then the brine and spices. Let them sit for a few days and then give them a try.

Making Breadcrumbs

The other thing we did last week was make homemade breadcrumbs for the first time. With all the grilling we do during the summer, the top of the refrigerator becomes a sort of catch-all for hamburger and hot dog buns. I don’t like throwing away the leftovers and I also don’t want to feed leftover pieces to the birds and ducks. It’s just not good for them or the environment. So I finally put the leftovers to good use.

Breadcrumbs are easy to make. I tore the buns into small pieces and put them on a foil-lined baking tray. Then, I placed them in the oven at 350 degrees. I checked on them every 10 minutes, mixing the bread until it’d all gone nice and dry.

If you aren’t sure you can remember to check in consistently, because you don’t want the bread to burn, you can dry it at lower temperatures for a longer amount of time. When a few pieces still felt a little soft, I turned the oven off and just let the tray sit for another 10 minutes.

Most recipes call for a food processor for the next step, which we don’t have (that and a mixer are both on my wishlist. Someday!), but a blender works just fine. I filled the blender about halfway with dried pieces of bread and used the ice crushing setting to break them down into breadcrumbs.

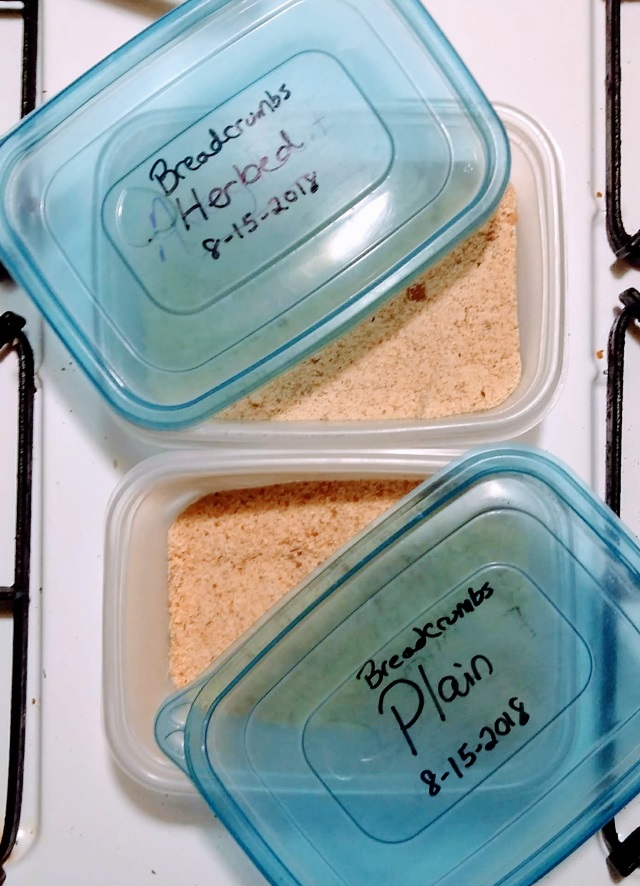
Then I experimented with my next batch by throwing in a combination of kosher salt, oregano, basil, and parsley. I kept the spices to a minimum, but probably could have been more generous with the amounts. This batch of breadcrumbs came out smelling delicious and I plan to make them in the future with slightly stronger seasoning.

That is, if cooking with them turns out well. I’ll try to remember to report on that!

*Edited to add: Cooking with them was amazing! Just as good, if not better than, store-bought breadcrumbs.

Bread Crumbs | Our Prairie Nest